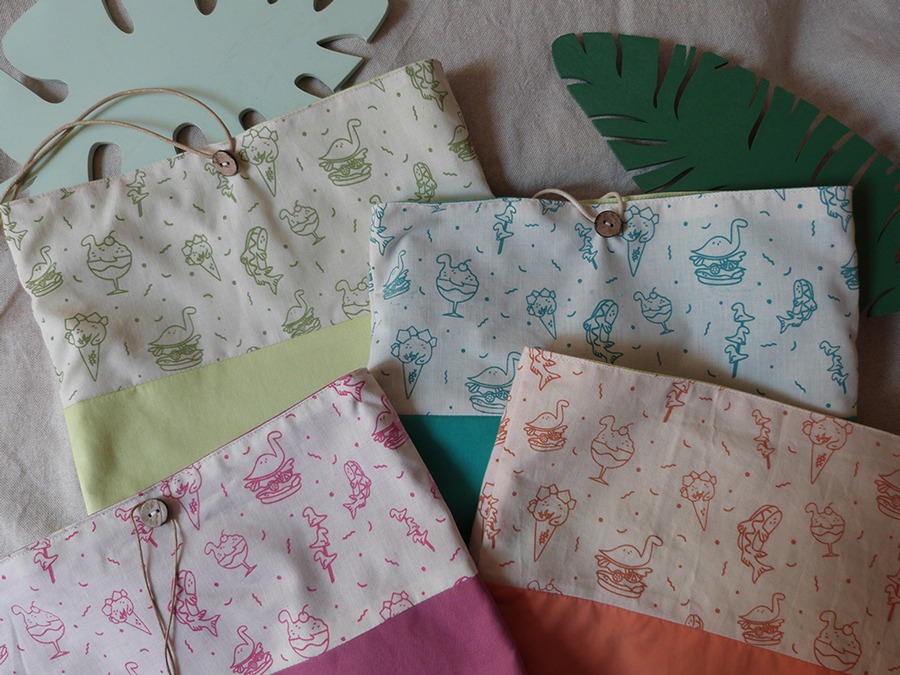
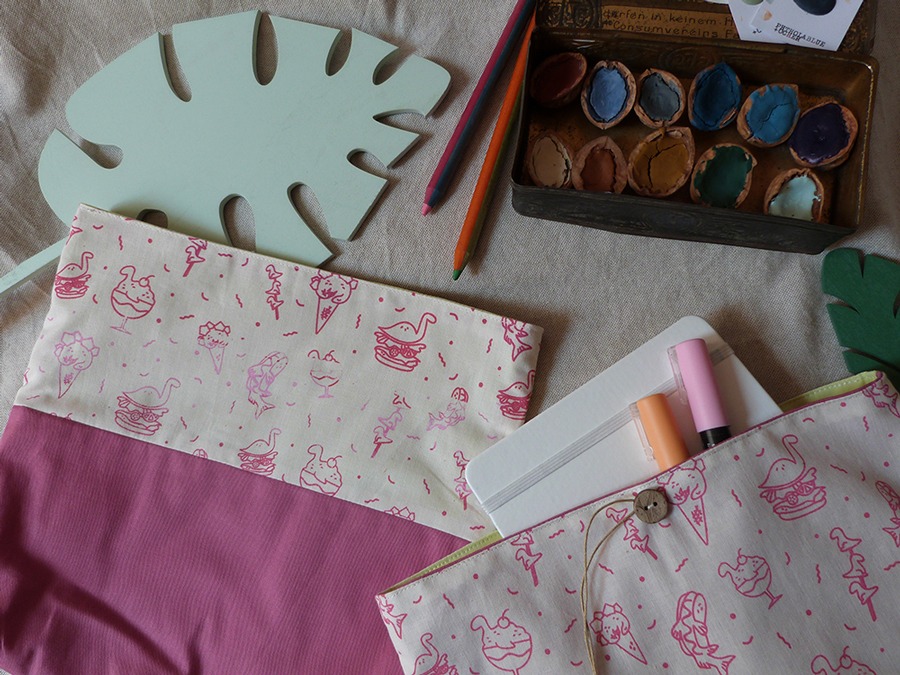
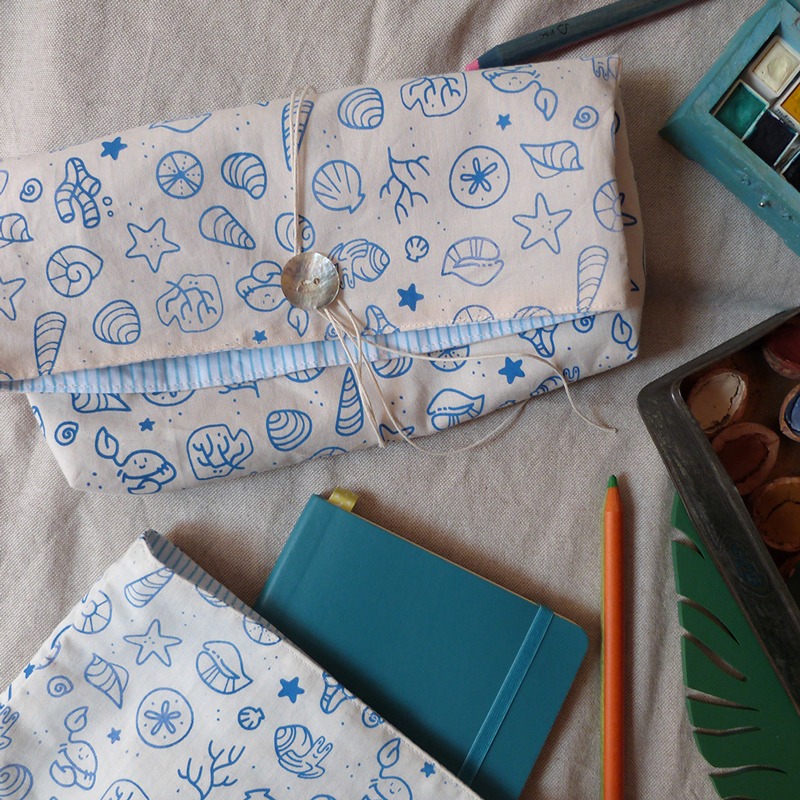
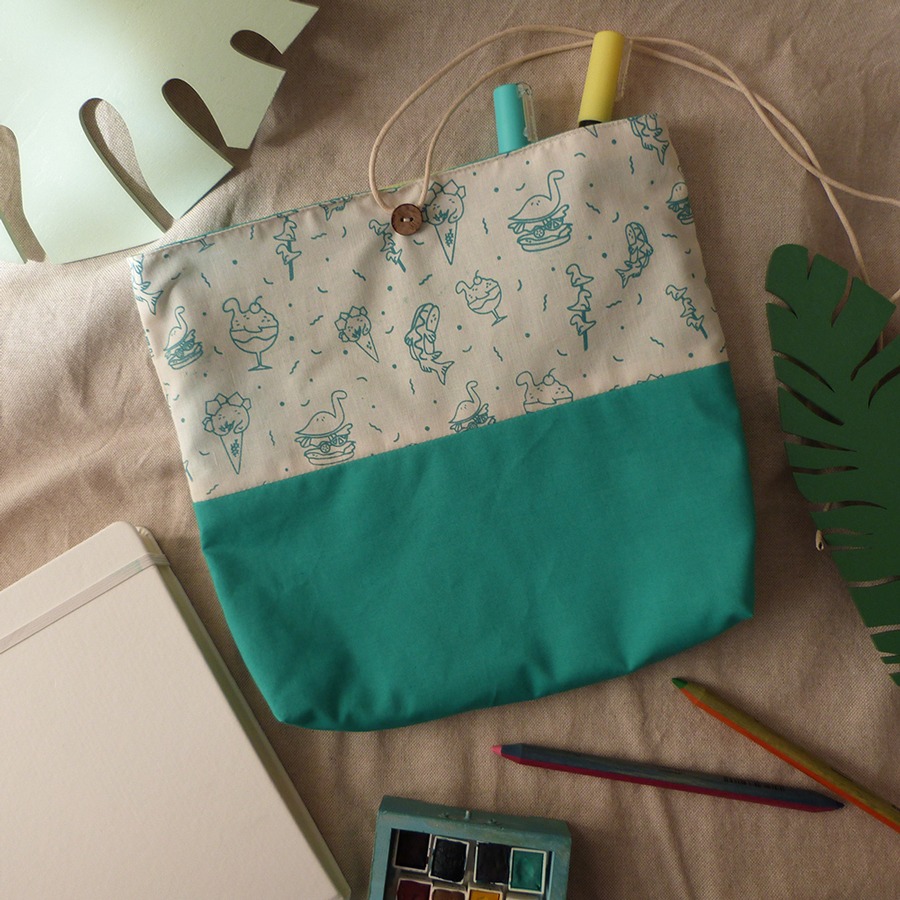
My DinoFood and Ocean silkscreen printed pouches sold out very fast and it’s sooo exciting! I loved creating them. I thought I’d show you how I make them: from the first pencil stroke to the last seam.
💡 Idea, sketch
That’s the first thing to do: come up with an idea. I take out my pencil (well sharpened) and draw on my paper sheets. I like to explore slightly different styles, test techniques I’m not used to… Let’s see where my hand will take me!

Research and references
When I have a direction that I like (or the beginning of a direction), I do some research. Research of what? Of reference, but not only.
First, I have to see if the pattern I imagine already exists or not (and if I am different from the existing one): my goal is not to copy or plagiarize someone’s work. I don’t like to get my work stolen, so I’m careful not to steal or get too close to someone else’s work (I’ll try to write a small article about copyright).
For the DinoFood pattern, I obviously looked for dinosaurs (and foooood)! For the Ocean pattern, I plunged into underwater photos and drawings. You have to take the researches as real explorations. We excavate, we discover, we learn.
Inspiration
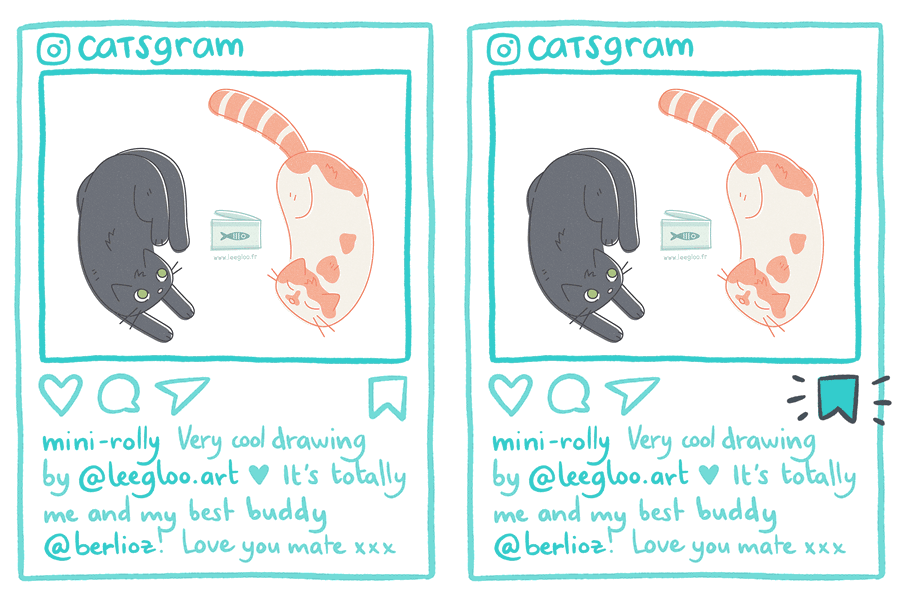
I try to fill my head with beautiful images, to inspire me every day. Pinterest is very useful for that, but my favorite method is to scroll through my follows and registrations on Instagram: I have some very talented and not so well known artists in my feed. As soon as I see a drawing I really love I save it (with the feature directly in the application) to be able to do « inspiration » sessions from time to time.
What’s also nice when you’re out of ideas is to get some fresh air, go for a walk, visit museums… But sometimes you can’t/don’t want to go out. 🤗
✏️ The final design
When I have a sketch that I like, it’s time to clean it! But how? First, I choose which technique I’m going to use.
Vector drawing
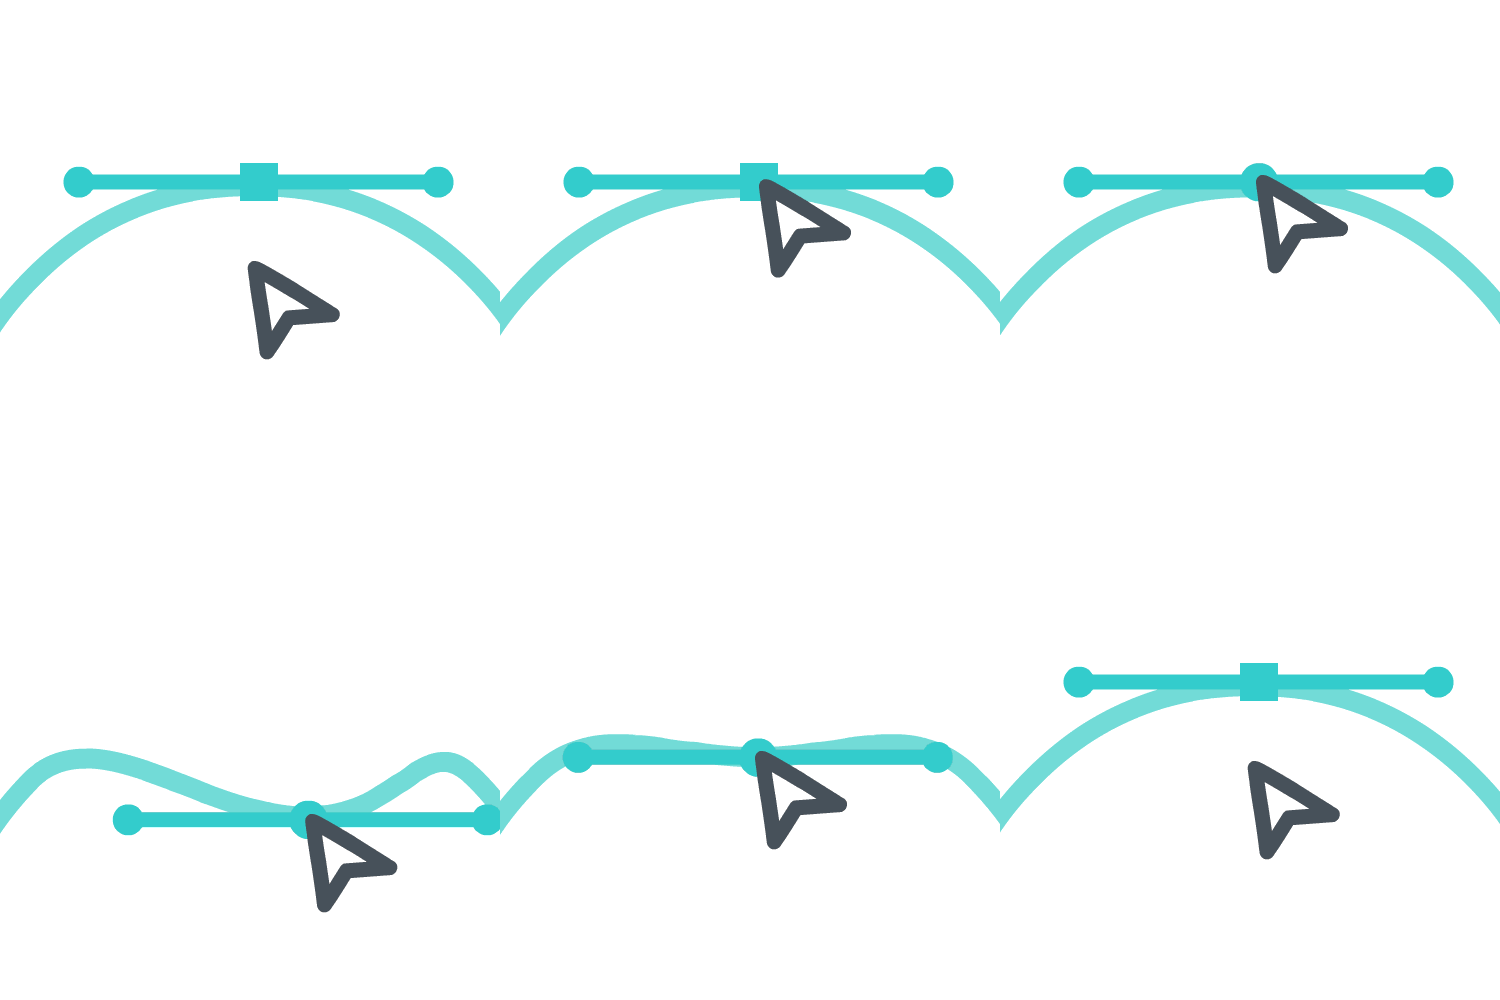
I’ll avoid going into details so I’ll not lose you, but in a nutshell: drawing in vector is drawing with mathematical formulas. Yes, it’s scary when you say it like that. But it’s my favorite technique: practical and very flexible, I can enlarge and shrink my drawing infinitely without losing quality! I can also modify it very easily, I don’t need layers for each of my shapes.
Bitmap (or raster)
A bitmap or raster image is an image composed of pixels. It cannot be enlarged to infinity: it has its maximum size (which you choose when creating it) beyond which the quality will be less good (it will be pixelized). Remember to use layers in your drawing software to separate each element and be able to modify them easily.

How to choose between them?
Vector is kind of my safe way to go when it comes to a drawing that I’m going to use for different media, at different sizes. Especially when it’s for pattern, I find vector more adapted to manage repetitions and adjustments.
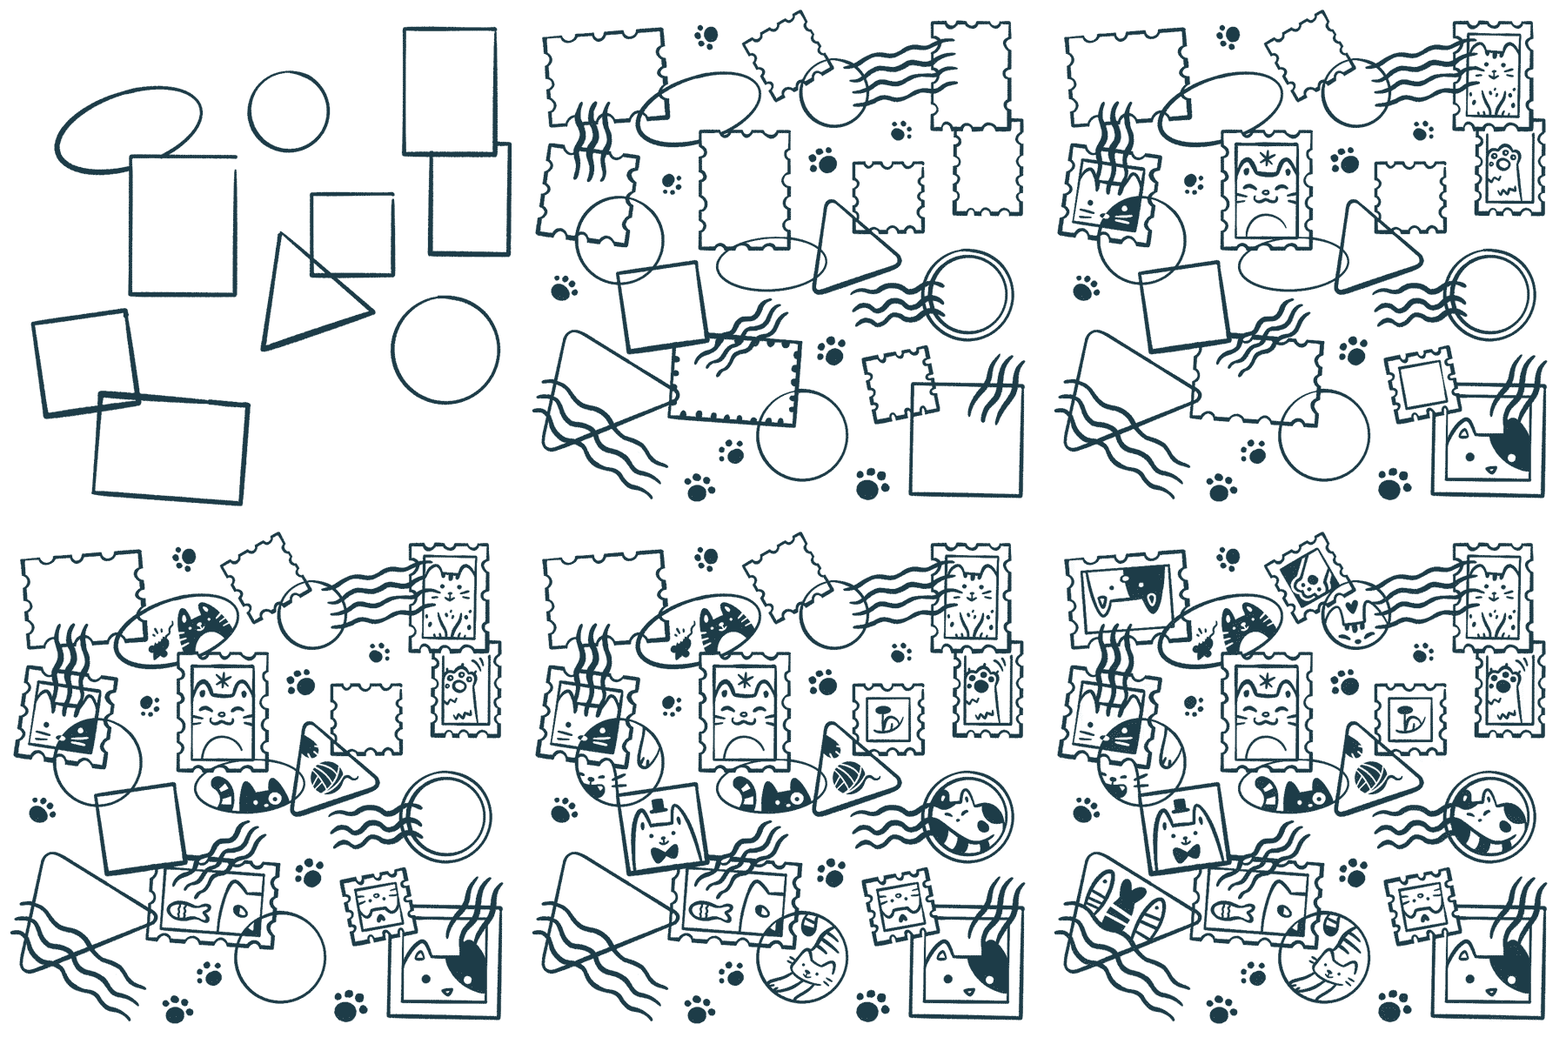
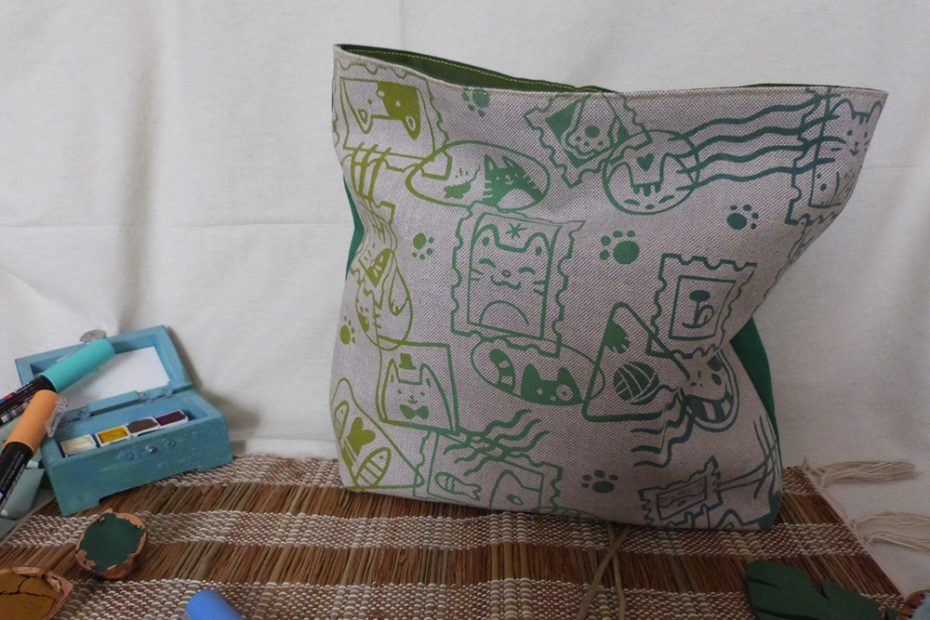
But I chose pixels for the Cats Stamps: because I knew the surface I had to print and I didn’t made a repeated pattern. I decided to use these cats only for these silkscreened pouches. Also, I was dying to know if it would look good: I made this pattern directly on my couch with the Procreate application. ✏️ Finally, I found out later that I should have chosen the vector technique… Oops!
I drag a picture of my sketch in the background to have my design in front of my eyes, and here we go!
🎨 Serigraphy
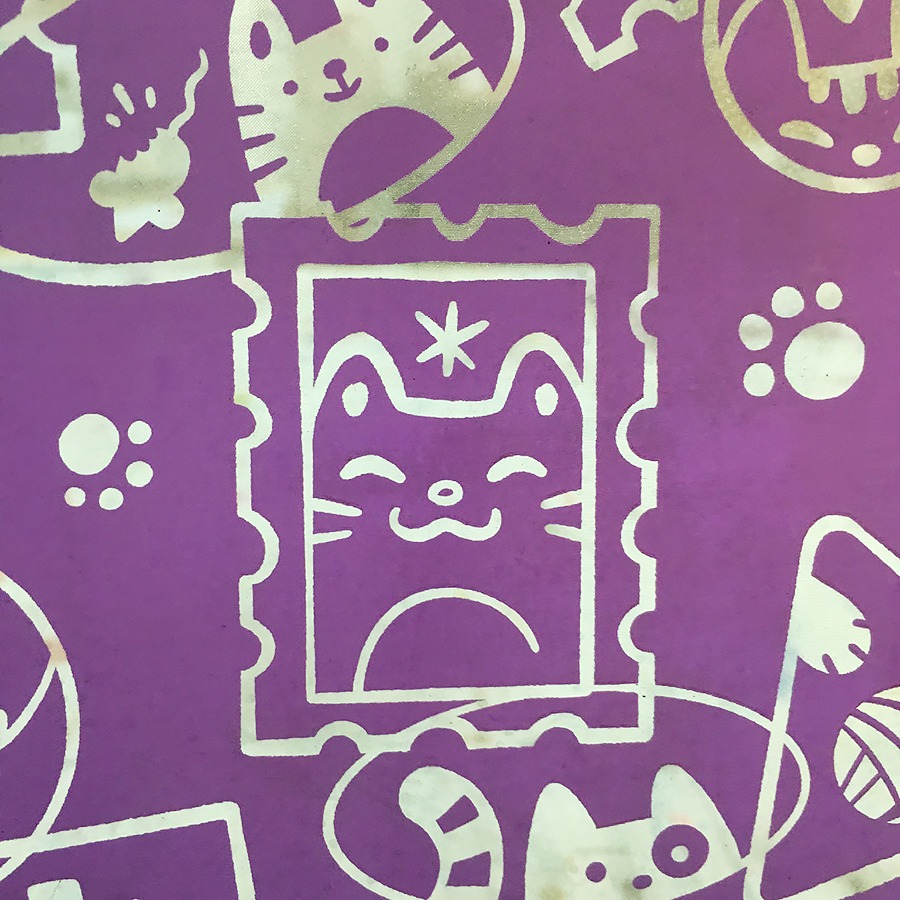
I’m going to screenprint in one color. I check that there are not too fine lines (the ink must be able to pass through the screen fabric). I put everything in black and white and I go to the silkscreen workshop with my arms full of fabric (washed and ironed) to print!
I will write a more detailed article on screen printing in a few weeks, to explain you this printing process. Here is an overview of the steps that were necessary: printing the acetate sheet with the design, exposing the screen, washing, drying, checking and correcting small defects of the screen, exposing again, washing, drying, preparing my colors and my support… PRINT! 💪
Once everything is printed, we dry, iron to fix the pattern… And as the ink smells strong, I re-wash everything. And then I dry again, and iron again (there is a lot of ironing).
✂️ Sewing
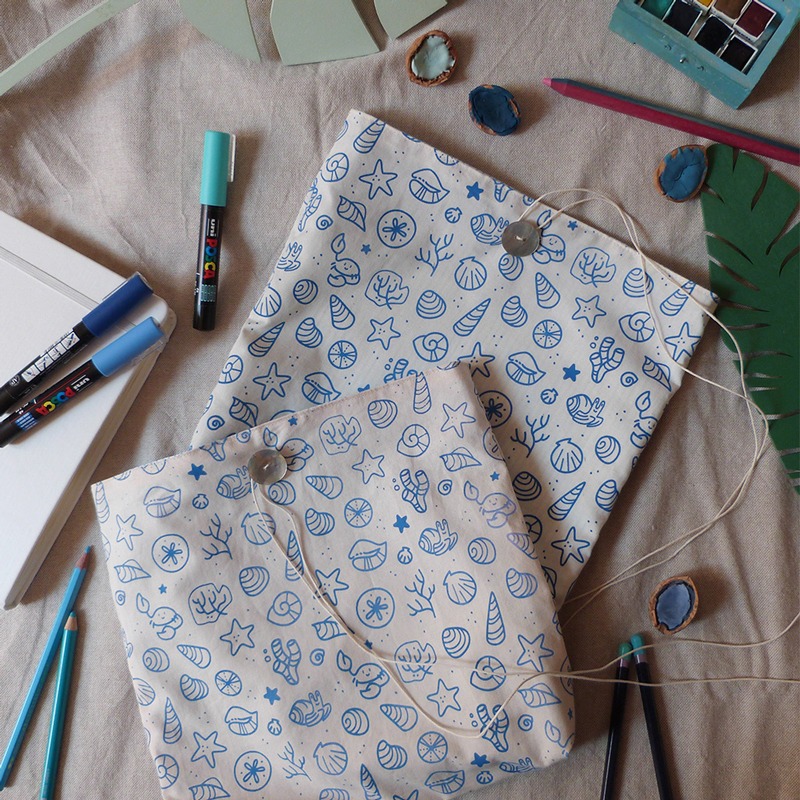
It’s time to take out the sewing machine! I choose my fabrics, I cut everything at the right size, I prepare my thread and needles… I try to be as precise as possible, to align all my seams to give you an almost perfect pouch.
💌 Packaging
A few weeks ago, I broke my piggy bank to buy a machine for cutting/debossing/scoring/engraving/other stuff. Would you be interested if I told you about it in another article? If you have any questions, you can already ask me, I’ll try to answer them as best as I can. If you can’t wait, the model I have is the Cricut Maker.
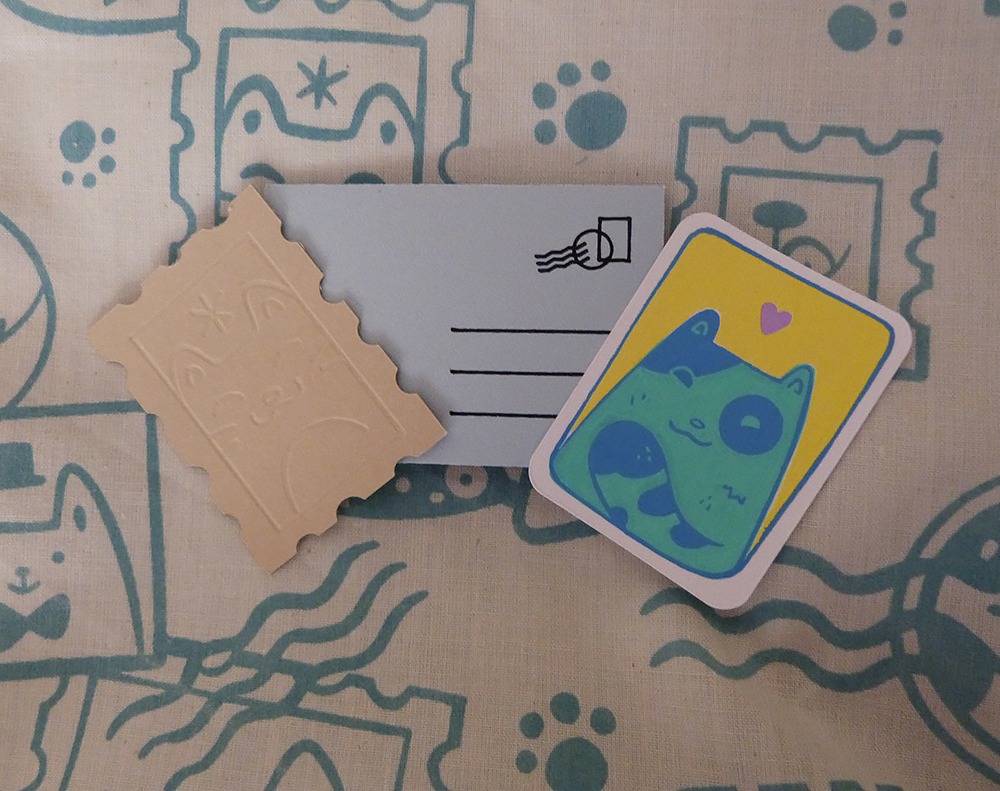
I now have completely new possibilities in terms of packaging and small goodies. So I thought of a small gift to go with each Cats Stamps pouch… And that’s when the choice of the drawing technique turned out to be the wrong one. To tell the machine to deboss or draw a line, the best is to have a thin line… Luckily, my drawing is simple: I can draw it in vector very easily.
I take out my pencil and think: what’s better than a small envelope with a stamp inside to go with Cats Stamps?
📷 Pictures
Nooope, it’s not finished yet! It’s very good to have a finished pouch, but I have to show it to you now. I arrange a small corner with a fabric to have a neutral background, some decorations I have on hand and I take out the camera! 📸 I don’t really like to retouch my pictures, I do it for my clients in graphic design, but I’m not interested to do it for my own creations. Usually, I just modify the size to make the photo weigh lighter and I reveal it on social medias.
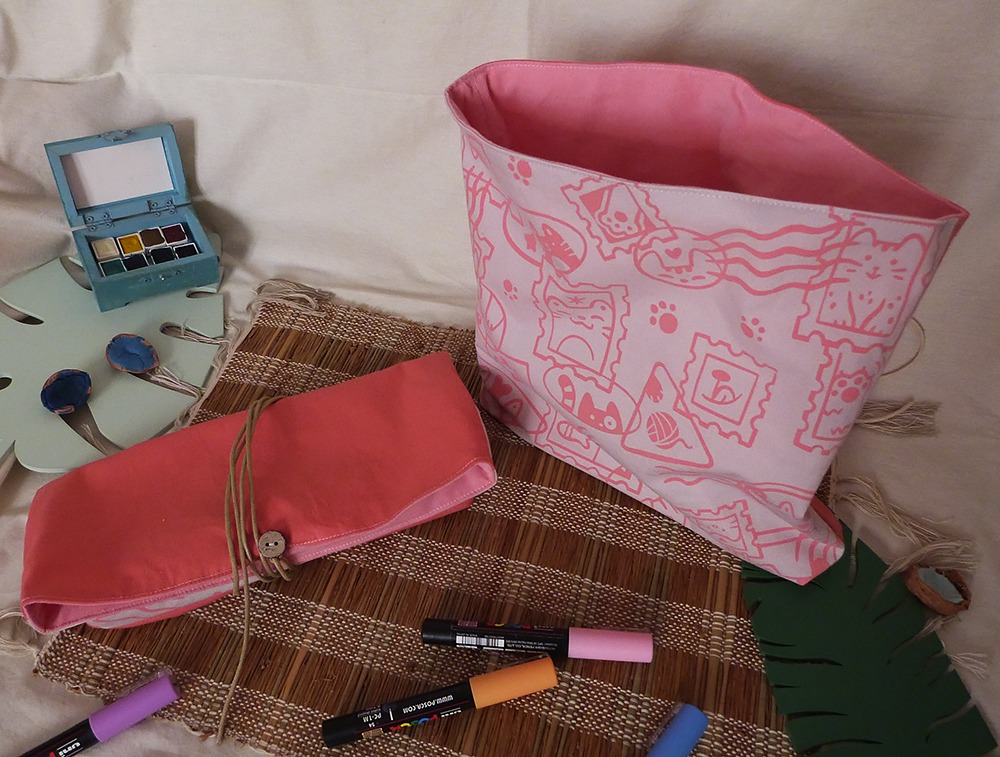
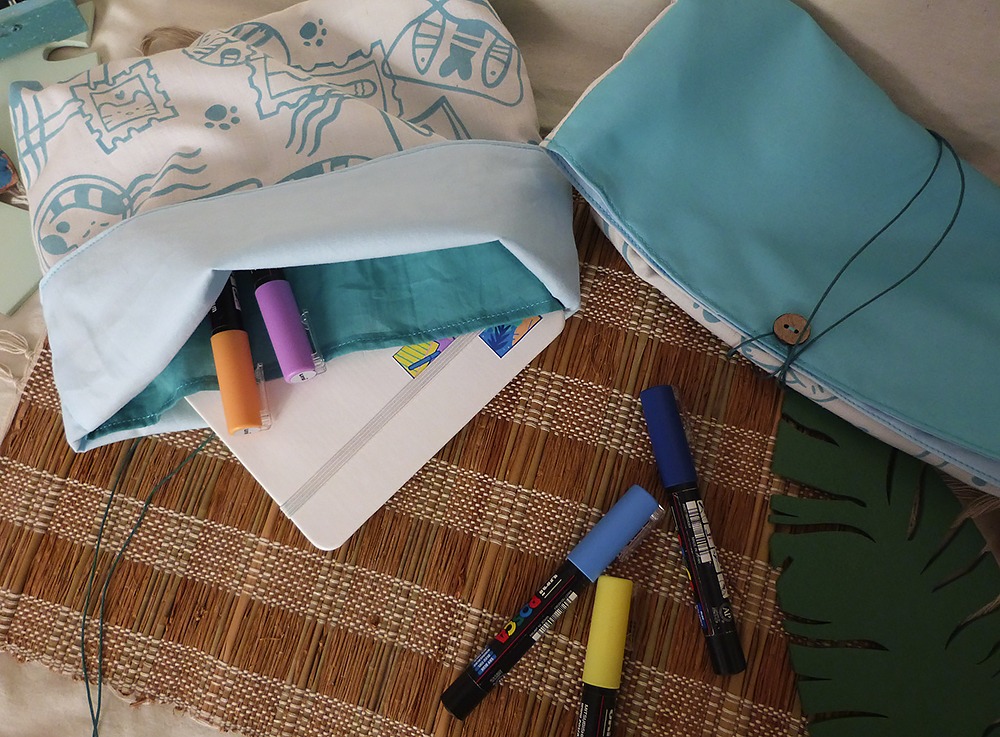
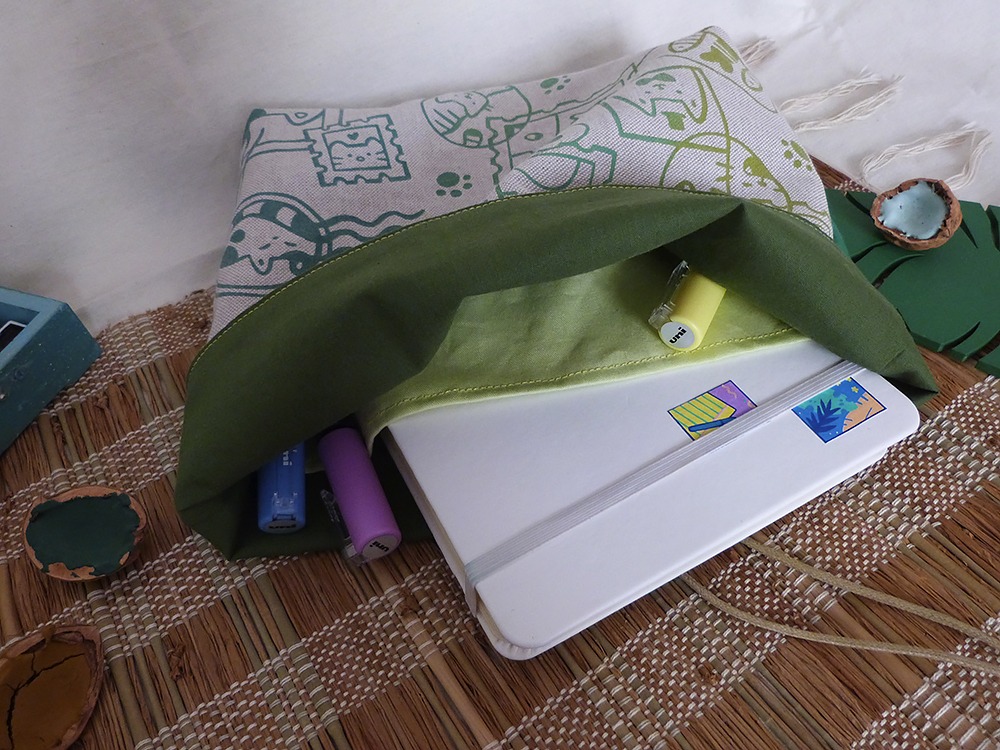
Voilà, I hope you liked this little behind the scenes! This is the first time I write this kind of article, so if you have any feedback, don’t hesitate to tell me. 🐾
Les commentaires sont fermés.